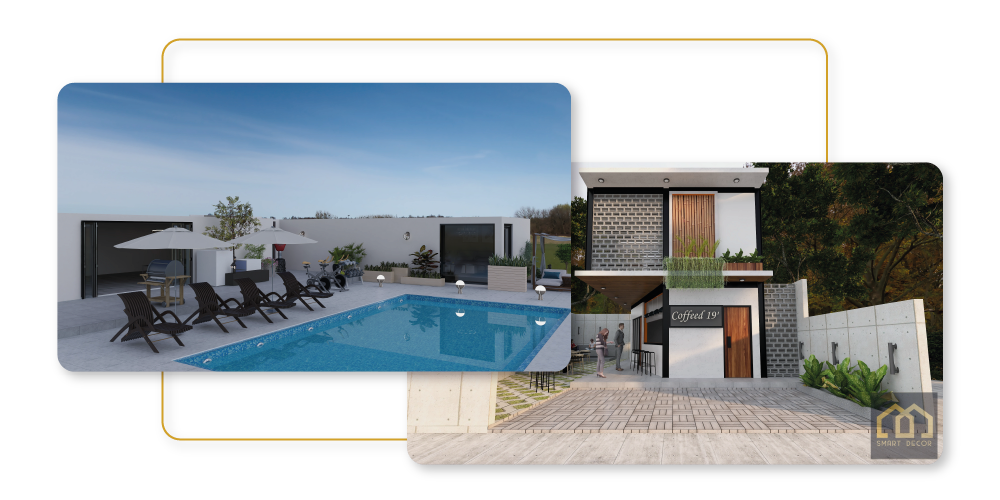
Build Your Interior Design Skills By Learning From A Certified Coohom Learning Centre
Our Courses
Beginner
Advance Training Course
Beginner
Beginner Training Course
Course Description – Designed for users who have little to no experience in using Coohom. This course is primarily for interior designers, furniture sales personnel and students. Upon completion of this course, users will be able to start a project from beginning to end. Users will understand how to upload different file types for floorplans, 3D models & materials, design & furnish and understand how to use the basic features. Course Duration: 2 – 2.5 hours|
No.
|
Topics
|
Details
|
|---|---|---|
|
1.
|
Merchant Platform
|
The merchant platform is also known as the management tool. Understand team projects, product management and the general settings.
|
|
|
Projects
|
Store, view, rename and edit projects.
Track and manage team projects.
|
|
|
AI Templates
|
Submit templates of designs to use in other projects.
Approve designers’ projects as templates to enable the entire team to use it.
|
|
|
Enterprise Library
|
View, manage, upload, categorize and edit 3D models (furniture and furniture sets), finishes and textures in the shared library. Understand what file types the platform is compatible with (MAX, SKP, FBX, ZIP, RAR & JPEG).
|
|
|
Personal Library
|
Upload models, finishes and textures in your own personal library (Differs from the Enterprise Library).
|
|
|
Data Analytics
|
Read and understand the data generated from Coohom.
|
|
|
Account Management
|
View and edit the users on your Coohom account. Understand the various types of account roles.
|
|
|
Settings
|
Enable or disable models on the public library.
Add or change watermark and company logo.
Edit the panorama settings for 720 Panorama and 720 Tour.
|
|
2.
|
Floor Planner & Rendering
|
Floor Planner – Create, design and construct floor plans and designs. Select and utilise the models on the different libraries that the platform offers. Switch between 2D and 3D mode.
Rendering – Select the different rendering options, aspect ratios, lighting and environment.
|
|
|
Upload/Draw Floor Plan
|
Upload and create floor plans.
Understand the file types that the platform is compatible with.
|
|
|
Model (Public) Library
|
Search and select from over 300,000 models & materials.
Make favourite the models you frequently use.
|
|
|
Furniture Plan
|
Plan to draw up a quick space planning layout within a floor plan.
|
|
|
Enterprise Library
|
Use and edit models uploaded onto the enterprise library from the Merchant platform.
|
|
|
AI Templates
|
Utilise the AI Templates for a whole project or a single room.
|
|
|
My Account (Personal Folder)
|
Use and edit models uploaded onto the personal library from the merchant platform. Categorize and organise your favourite models from the model and enterprise library.
|
|
|
Celling, Wall & Floor Editor
|
Basic understanding of construction, design celling, walls and floors.
|
|
|
Rendering
|
Understand the fundamentals of the rendering tool.
Select the different rendering options, aspect ratios, lighting and environment.
|
|
3.
|
Others
|
|
|
|
720 Tour
|
Create and share 720 tours (Virtual Walkthrough).
Convert into Virtual Reality mode.
|
|
|
Bill of Material (BOM)
|
Download and customise the BOM (quotation).
|
Advance Training Course
Advance Training Course
Course Description – Designed for users that already have a basic understanding of Coohom. This course is best suited for senior interior designers, drafters & architects. Users will be able to understand the full capabilities of the advance tools and all the customization features for lighting, rendering, construction, custom made furniture and many more. Course Duration: 2 – 3 hours|
No.
|
Topics
|
Details
|
|---|---|---|
|
1.
|
Advance Tool
|
Construct, edit and create structural components in the design. Customise selected models in a project.
|
|
|
Construction
|
Construct and customise beams, pillars, plinths and other construction elements.
|
|
|
Custom Made Furniture – Kitchen & Bath, Custom Furniture and Doors & Windows
|
Use the parametric model library to create custom made furniture and design internally. Add accessories, generate countertops and build decoration structures.
|
|
2.
|
Advance Upload
|
Edit mapping dimensions and use advance settings for model and material upload. Use product tagging and product branding.
|
|
|
Custom Product Uploads
|
Upload material to use within the Kitchen & Bath, Custom Furniture and Doors & Windows customisation tools.
|
|
|
Paving Uploads
|
Upload material that will allow users to further excess the ability to customize the flooring.
|
|
3.
|
Export (File Types)
|
|
|
|
Sheets
|
Understanding how to export different variants of top view floor plans
|
|
|
Dimension Drawing
|
Understanding how to export various file types and elevation drawings for parametric models with production information which can then be extended to contractors and builders.
|
|
4.
|
Share (Projects)
|
|
|
|
Share to Team
|
Share projects internally or to other Coohom users.
|
|
|
Share to Others/Clients
|
Share renderings, full virtual walkthroughs and other visualisation components with clients.
|
|
5.
|
Rendering Tool
|
|
|
|
Customise Lighting
|
Apply and utilise volumetric and IES lighting system.
|
|
|
Customise Outside Environment
|
Create and customise your own outdoor environment setting.
|
|
6.
|
Paving
|
Understand the components of paving features in the design tool. Use multiple tiles and different patterns to customise the tile placements for flooring.
|
|
7.
|
Outdoor (Basic)
|
Draw building facades, create and build outdoor landscape. Understand how to render an outdoor scene to compliment the design.
|
Specialized Courses
Kitchen Cabinet Customization
TV Cabinet & Feature Wall
Wardrobe Cabinet Customization
Multi-Storey
Advanced Lighting
Outdoor
Kitchen Cabinet Customization
 Kitchen Cabinet Customization
Course Duration: 2 hours
|
No.
|
Topics
|
Details
|
|---|---|---|
|
1.
|
Advance Tool
|
Detailed guidance on using kitchen and bath feature. Create box construction, push & pull function, brush material and more.
|
|
2.
|
Custom Uploads
|
Guides on material and fixture uploads for custom made furniture. Do’s & don’ts for uploading to ensure optimum results.
|
|
3.
|
Counter Top
|
Generate and customise counter top, back splash and waterfall counter top.
|
|
4.
|
Global Styles & Internal Zone
|
Save time and use pre-set design styles with custom styles. Manage internal zones of each design.
|
|
5.
|
Sheets & Dimension Drawings
|
Generate floor plan dimensions and custom made furniture dimensions. Generate a detailed elevation drawing image with production information to builders, contractors and clients.
|
|
6.
|
Panel Design
|
Understand panel customisation for custom doors. Edit and draw personalised panels using custom materials to create various designs.
|
|
7.
|
Lighting
|
Learn different ways to utilise LED lighting within cabinets. Use 3D model LED or default built-in lightings.
|
|
8.
|
Bill of Material
|
Generate a bill of material quantities in kitchen design. Learn to better understand the Bill of Material feature to generate the right quantities for your upload materials.
|
TV Cabinet & Feature Wall
 TV Cabinets Customization & Feature Walls
Course Duration: 1.5 – 2 hours
|
Topics
|
Details
|
|---|---|
|
1. Advance Tool
|
Detailed guidance on using construction and custom furniture. Create box construction, push & pull function, brush material and more.
|
|
2. Custom Uploads
|
Guides on material and fixture uploads for custom made furniture. Do’s & Don’ts for uploading to ensure optimum results.
|
|
3. Tips & Tricks
|
Construct and create spaces and holes on walls. Quick steps on creating half wall with glass, full glass wall and more.
|
|
4. Sheets & Dimension Drawings
|
Generate floorplan dimensions and custom made furniture dimensions. Generate a detailed elavation drawing image with production information to builders, contractors and clients.
|
|
5. Lighting
|
Learn different ways to utilise LED lighting within cabinets. Use 3D model LED or default built-in lightings.
|
|
6. Bill of Material
|
Generate a bill of material quantities in custom made TV cabinets and/or feature wall design.
|
Wardrobe Cabinet Customization
 Wardrobe Cabinet Customization + Bonus Training
Course Duration: 2 hours
|
No.
|
Topics
|
Details
|
|---|---|---|
|
1.
|
Advance Tool
|
Detailed guidance on using construction and custom furniture. Create box construction, push & pull function, brush material and more.
|
|
2.
|
Custom Uploads
|
Guides on material and fixture uploads for custom made furniture. Do’s & don’ts for uploading to ensure optimum results.
|
|
3.
|
Doors & Styles
|
Generate various types of doors (sliding door, custom design door, and standard design door).
|
|
4.
|
Sheets & Dimension Drawings
|
Generate floor plan dimensions and custom made furniture dimensions. Generate a detailed drawing image with production information to builders, contractors and clients.
|
|
5.
|
Panel Design
|
Understand panel customisation for custom doors. Edit and draw personalised panels using custom materials to create various designs.
|
|
6.
|
Lighting
|
Learn different ways to utilise LED lighting within cabinets. Use 3D model LED or default built-in lightings.
|
|
7.
|
Bill of Material
|
Generate a bill of material quantities in custom made wardrobe cabinets.
|
|
8.
|
BONUS Training
|
Tatami bed creation
|
Multi-Storey
Multi-Storey
Course Duration: 2 – 2.5 hours
|
No.
|
Topics
|
Details
|
|---|---|---|
|
1.
|
Standard method to add a multi-level
|
Basic approach to create a basement or a multi-level project. Learn to add 1 level at a time.
|
|
2.
|
Create Multi-Level or Loft with Construction Tool
|
Use the construction tool to create the elevation required to add an additional level. Learn to use the multi-level in a whole house project and view in a holistic perspective. Design mezzanine floors and lofts.
|
|
3.
|
Create Multi-Level or Loft with Wall Editor
|
Use extrusion in wall editor to create an additional level. Learn to use the multi-level in a whole house project and view in a holistic perspective. Design mezzanine floors and lofts.
|
|
4.
|
Stair & Lifts
|
Use Coohom 3D Model Library to choose the perfect stairs or lift model to fit the design. Guidance on how to construct a customise staircase with the construction tool.
|
|
5.
|
Tips & Tricks
|
Understand the different elements needed for multi-level designs. Such as hole space on the additional level, combined level and wall design creation.
|
|
6.
|
3D Rendering and Virtual Walkthrough
|
Understand the best way to capture the correct angles and create a perfect virtual walkthrough.
|
Advanced Lighting
 Advanced Lighting
Course Duration: 2 hours
|
No.
|
Topics
|
Details
|
|---|---|---|
|
1.
|
Advanced Lighting Overview
|
Understand the customise lighting feature – a step by step guide and the do’s and don’ts to avoid an overexpose or a completely dark 3D rendering.
|
|
2.
|
Sunlight and Sun Rays Effects
|
Understand how to use IES lighting to achieve sun ray effect in 3D rendering. Move the sun to obtain the optimum position for shadow effect.
|
|
3.
|
Pre-set Lighting
|
Learn and understand the benefits of pre-set lighting templates to save time and achieve the most photorealistic 3D rendering.
|
|
4.
|
The Illuminating Engineering Society (IES) Lighting
|
Learn to use the IES lighting which measures the distribution of light. In other words, the intensity of the light and its shape. Learn how to adjust brightness, height, radius and colour.
|
|
5.
|
Pre Set Background and Uploaded Background
|
Understand the pre-set background and how to upload preferred background.
|
|
6.
|
Tips & Trick
|
Understand the bokeh effect feature and how to create photorealistic rendering with the pre-set enhance feature. Determine the best position for the camera angle to obtain the best lighting effects in 3D rendering.
|
Outdoor
Outdoor
Course Duration: 2 hours
|
No.
|
Topics
|
Details
|
|---|---|---|
|
1.
|
Construction Feature Overiew
|
A step-by-step walkthrough to understand the feature breakdown of the construction tool for outdoor design.
|
|
2.
|
Swiming Pool or Porch
|
Learn how to fully construct and build a swimming pool or a front porch using the construction tool.
|
|
3.
|
Uploading 3D Models (Oversized Model)
|
Learn how to use 3D models uploaded from SketchUp and/or 3Ds Max in Coohom to have an efficient way to obtain a 3D rendered outdoor perspective. Generate a photorealistic rendered image with an outdoor design in minutes.
|
|
4.
|
Uploading Texture for Various Effects (Water, Stones, Grass)
|
Outdoor texture for paving or water effect can be a change. Learn to correctly upload texture to get the best effect in the design.
|
|
5.
|
Pre-set Outdoor Lighting & Background
|
Learn how to fully utilise the pre-set features to master the rendering techniques to achieve optimum results for an outdoor scene.
|
|
6.
|
Tips & Tricks
|
Simple solutions to help create a photorealistic outdoor rendering.
|

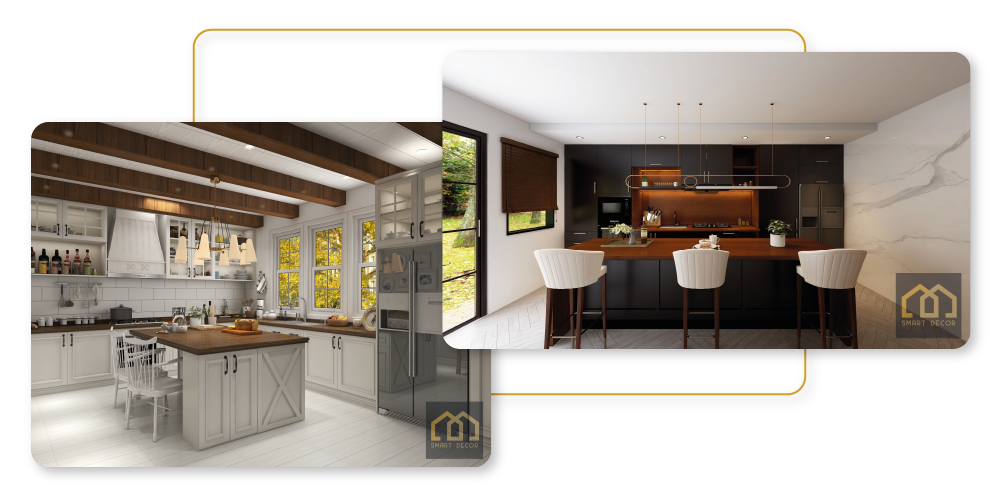 Kitchen Cabinet Customization
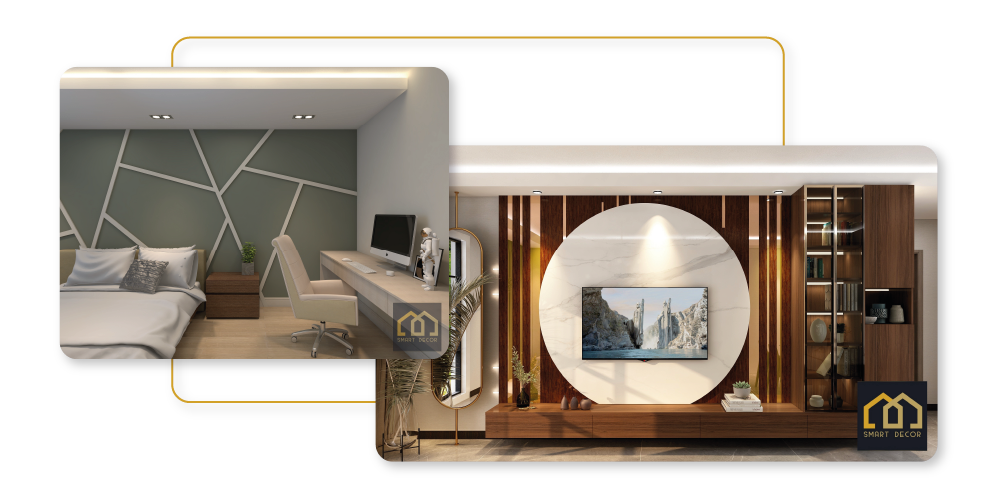 TV Cabinets Customization & Feature Walls
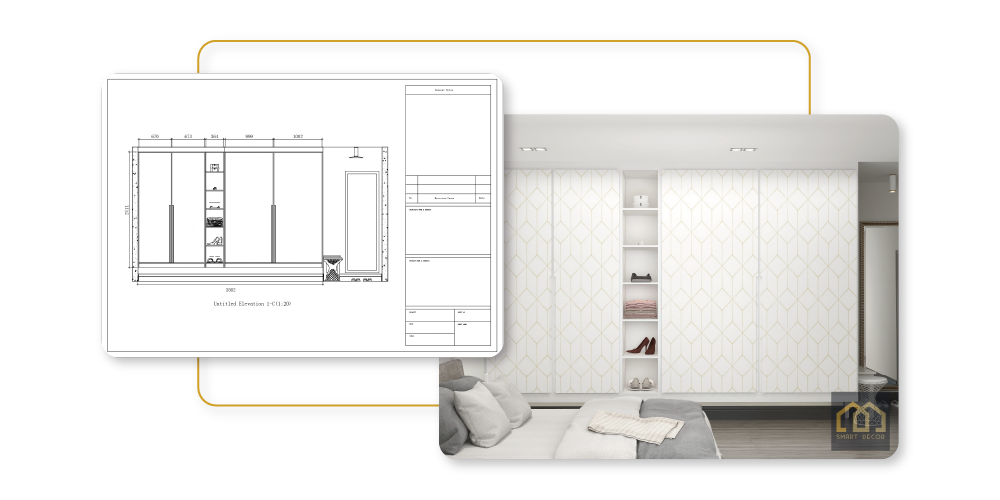 Wardrobe Cabinet Customization + Bonus Training
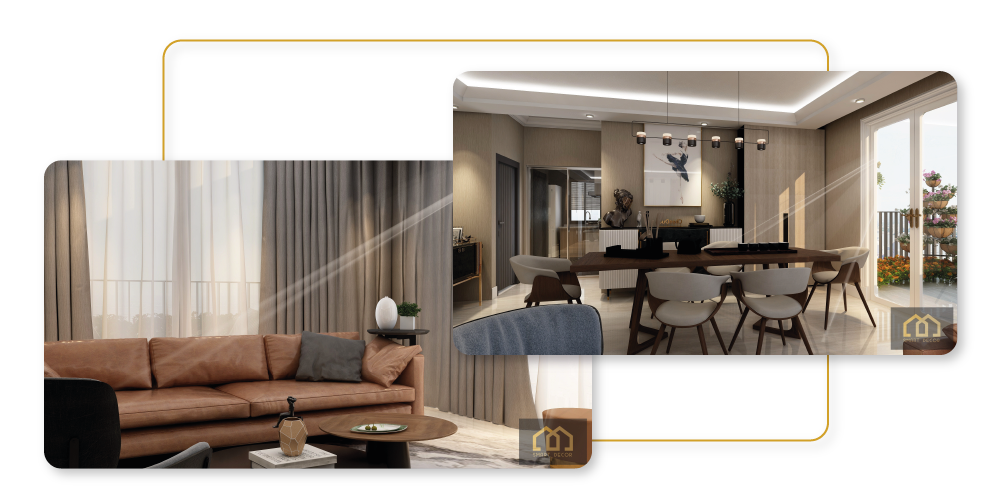 Advanced Lighting